Monday, December 19, 2011

Holiday Swags and Arrangements

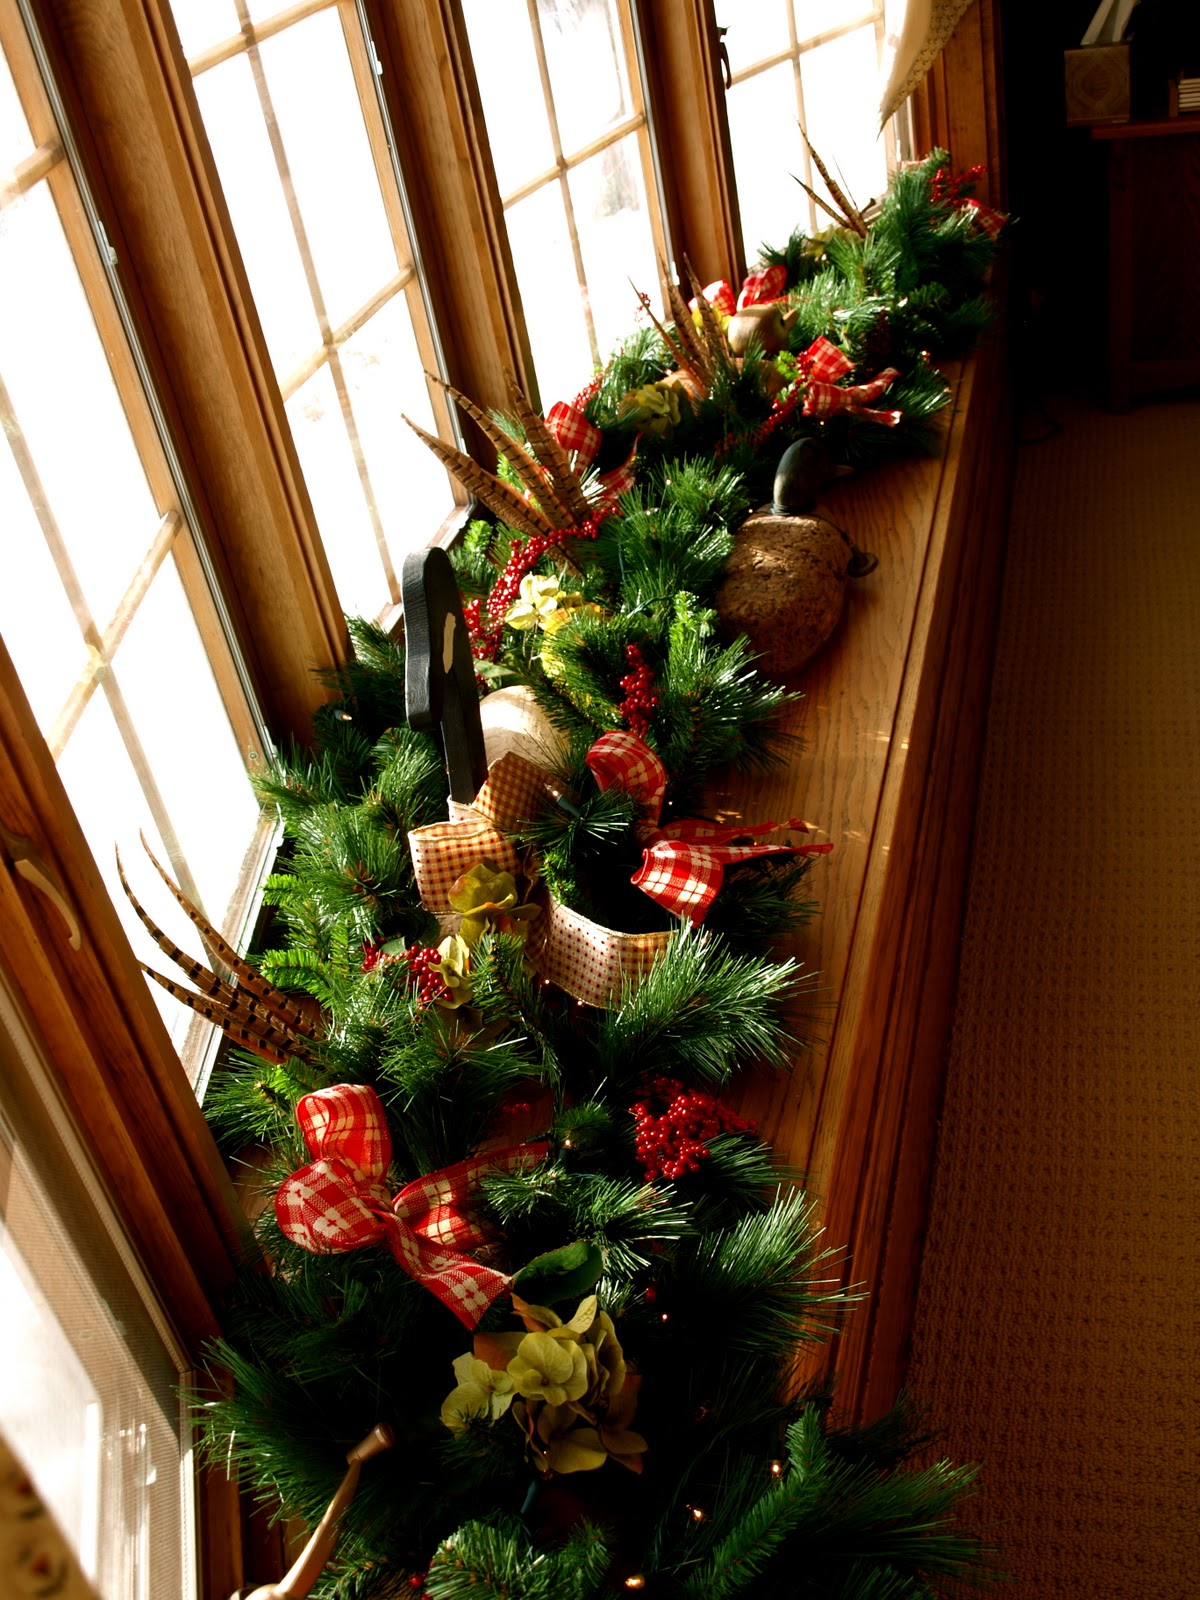
These holiday decorations are very simple and extremely inexpensive.  I love using materials that can be found just outside your backdoor! All the pine greenery came from the same place we purchased our tree and it was all free!  Most tree farms will give you pine branches for free left over from trimming the base of Christmas trees.  All these decorations would have cost $200 pre made. I paid less than $50!


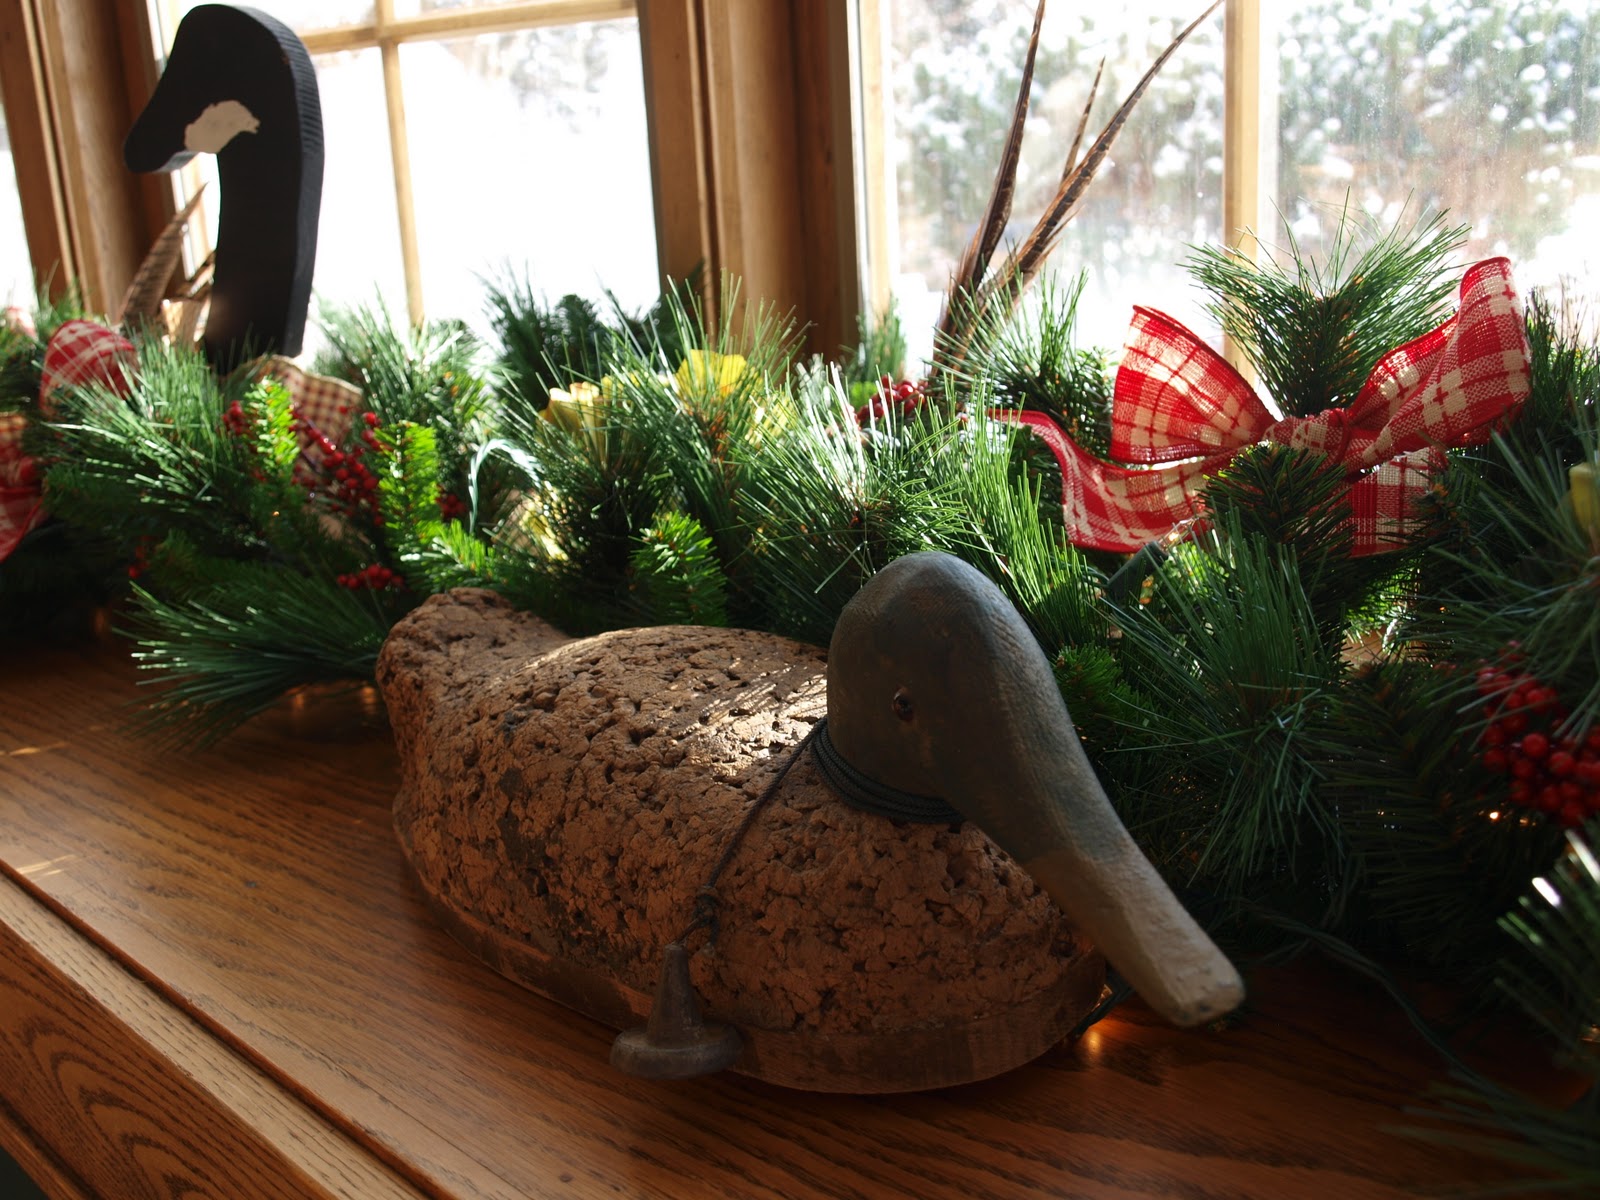
Each year I reuse as many items as possible which includes these silk flowers, metal bells, and of course pheasant feathers to save on costs!  Last year my arrangement was done in a large hurricane jar, so this year I went a different direction.  This container is actually a decorating "birdcage".  I removed the top from the stand and stuffed burlap in the bottom to provide a better base for the greenery. 


I found this sled at a local thrift store for $20 and love it.  


 This swag is very simple and took me only a few minutes.  I bunched together some pine branches with green floral wire then tied a strip of burlap around the top, added a little bow and wired it to the sled.  I also draped a small horse bit across it to add a little equestrian touch.  


 I found this old copper boiler up in our barn and knew it would make an amazing deck arrangement.  To start this arrangement I stuffed plastic bags full of paper in the bottom to help hold my 5 pine tops in place. Next, I stuffed pine branches all through out creating some layer.  I always have a stash of small birch branches (taken from our cabin woods)  and worked them in amongst all the pine.  Lastly I stuffed, large pieces of birch bark, pine cones and a few holiday balls throughout.  


 Garage Swags


Another sleigh.  Purchased at a small town garage sale for $15. 


{Call Me Country}

Sunday, December 18, 2011

Farm House Christmas

I recently had the opportunity to decorate a beautiful old farm house for the holidays and thought I would share a few photos.  This farm house was beautiful in itself and took very few new elements to dress up the living room bay window and fireplace.


The homeowner had numerous vintage pieces which inspired the rustic fell of the decor.  Her only requests included pheasant feathers (for her husband who is a avid outdoorsman) and to tie the decorations with her country decor. 


I love using an old fashion large flannel print ribbon when going for a country farm feel.  All the materials are artificial in order for the homeowner to reuse the elements in years to follow.  As you can see I have included some beautiful silk hydrangeas which bring a fresh feel to the decor. 


There is nothing better than having beautiful old antiques to incorporate like these great decoys!


Fireplace Mantel 


More beautiful decoys!


 I love this old lantern. 


 I couldn't resist snapping a few photos of her beautiful barn and old silos and thought I would share! 


I hope you found some inspiration!  

{Call Me Country}

Friday, December 16, 2011

DIY Ruffled Table Runner (equestrian inspired)


This is a super quick DIY table runner I created for the holidays this year.  I love the rustic feel of burlap, especially when pairing with equestrian elements like I have here.  

What you will need:


Cut your burlap to the length and width you would like for your table


Trim the burlap using ribbon and your handy hot glue gun


Ruffling:
For the ruffling cut a long strip about 1 yard or so but this will depend on the width of your runner and about 2 inches wide.  Both of these dimensions may vary depending on the length and width of your runner. Start by gluing down the first end.


 Next, fold about an inch over to start the ruffle and repeat across the entire end of the runner.  If you run out of length on your strip don't worry.  Simply start another strip.  The transition will be hidden by the finishing strip of ribbon. 


To finish your ruffling you may like to run some ribbon along the top edge and fold over, gluing the edges on the backside of the runner.  I used the same ribbon as the edges of my runner but a contrasting ribbon looks great as well. If you use a thinner ribbon you may like the look of placing the ribbon just down from the top of the ruffling, exposing some of the top edges.  


Finished product. 

 
For my table arrangements I used items from around the house.  I always have a variety of vases, jars and containers around the house from my floral business so I used a little variety on this table.  


Continuing with the equestrian theme I incorporated old show ribbons and some leather horse items (a foal halter can be seen here tucked in amongst the pine).  Just be creative with things you have around the house!  


Call Me Country!

Wednesday, December 14, 2011

What to do with all those old sweaters?

I recently came across a box of seaters that I have been holding onto season after season hoping to some day wear them again.  So this year it was time to give them a new life.  This is what I got from one sweater! 


From the sweater I created one pair of mittens, two wine bottle covers, two baby hats,  and two of either candle sleeves or cozies.  Here is the layout of the items on the sweater:  Two hats were made from the waist/body of the sweater, mittens were from the neck down (this was a turtleneck sweater), wine bottle covers were made from the sleeves, cozies were from extra length I cut off the wrists of the mittens.

How to:
First make sure to turn the sweater inside out.  The two hats I made were different sizes as my daughter is a little older so it took more than half of the sweater.  This left me with enough sweater left for a new born size  hat.  The shape above is what you will need to cut out. Sew around the edges and turn right side out.  Take two pieces of ribbon and tie around the points of the hat and you are done!  I am obsessed with vintage brooches so I added a small one to my daughter's hat. These hats are great as they stretch to fit many head sizes.

 
The mittens are from the neck and chest/back area of the sweater.  Turn the sweater so the neck is facing your.  Simply trace both you hands in the shape of a mitten, pin together and sew.  Turn right side out and fold over the cuffs.   After sewing mine the first time I trimmed some of the edges to make my mittens a little tighter.  


The wine covers are made from the sleeves of the sweater.  Cut the arms off and sew straight across.  You may have to do a little trial and error on how long they will need to be depending on the size of your sweater.  Add any little decoration around the top: ribbon, yarn, and any small festive items to dress it up! 


The cozies and candle covers are from the trimmings of the mittens.  


I am currently working on the next sweater and will post what I made as soon as I finish!